A WordPress function wp_nav_menu outputs an unordered list, list items, and anchor of the menu in the HTML document.
The ul, li, and “a” come with WordPress CSS classes.
This may destroy the HTML design structure because the classes have no rules written in the style.css file.
So, you are forced to re-write CSS codes using classes and id that were brought by wp_nav_menu.
It is a bad idea if you plan to create multiple navigations with different layouts.
It is possible to use wp_nav_menu to add a custom class to ul, li and a(anchor tag) by creating function in functions.php file, and use get_nav_menu_locations, wp_get_nav_menu_object and wp_get_nav_menu_items to get the title for each list item. The function allows to add CSS classes to <nav>, <ul>, <li> and <a> manually, so you can add your CSS classes manually on these elements.
I will show the full codes on how I used the trick to add multiple navigations menus on the index page.
The first navigation uses wp_nav_menu with WordPress classes.

But the second navigation is different because I added my own custom class to all items of wp_nav_menu.
If I could not add my custom class to ul, li and a, the anchor, the second navigation layout would be the same with first navigation.
How to add class to ul all list items and its anchor tags?
To add the name of your class for navigation elements like an unordered list requires the code to be written in functions.php.
So right now you will work with this file and follow the following procedures.
Create a new function and call it any name you like
I created a function goes by the name my function my_custom_menu_class()
Create a descriptive function for easy reference.
Although. any function naming style can be used.
Inside your function, declare the name of the menu location that you want its items list.
$my_menu_name= ‘your_menu_location_id_name’
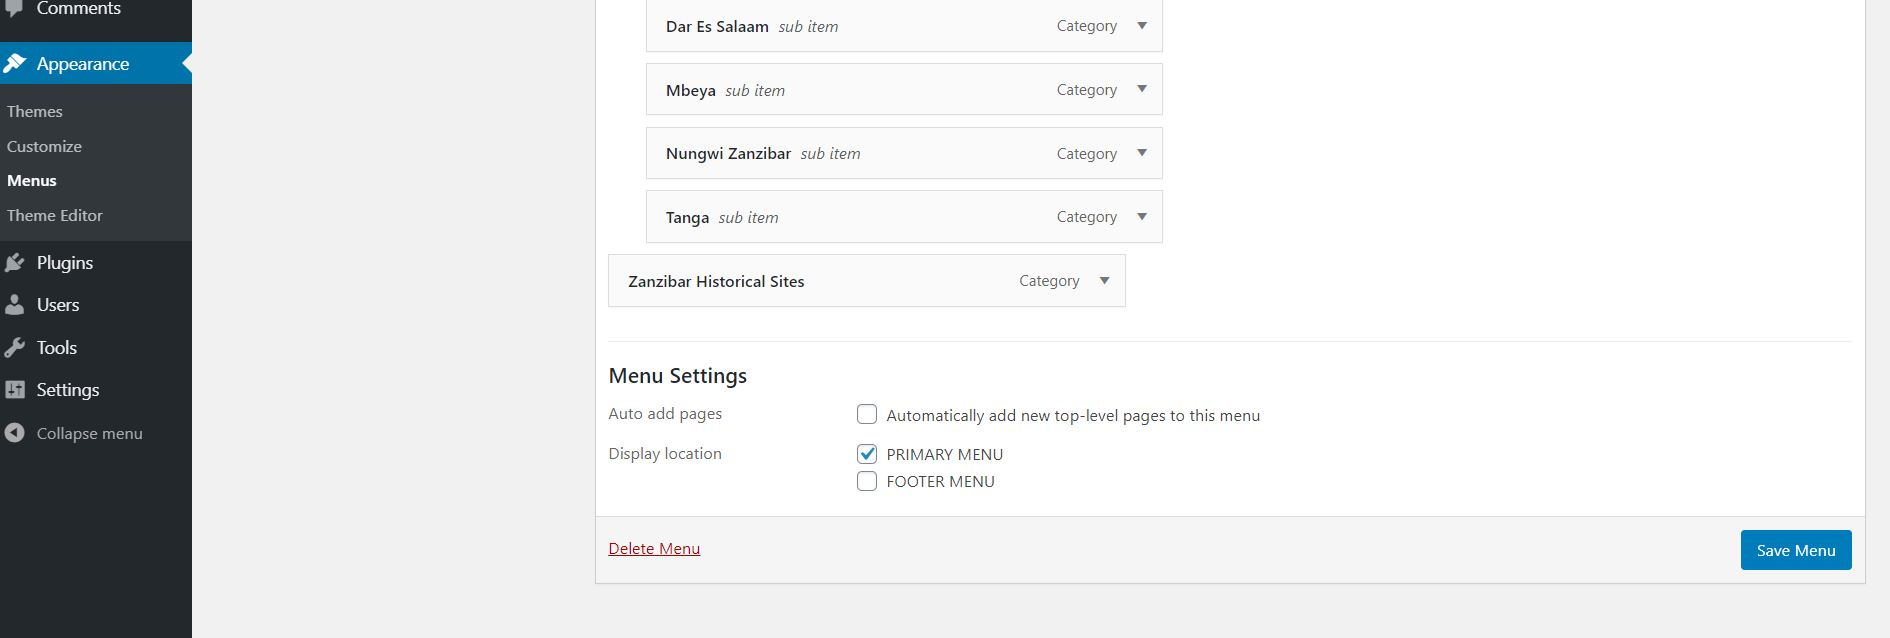
You can get the location name of the menu in the WordPress admin page at Appearance->Menu.
There is a list of menu locations labeled “DISPLAY LOCATION”.
Each menu location has the checkboxes for making choices.
Unfortunately, the menu names you see cannot work here.
What is needed is an index of the specific menu name.
That is the index used to register the names of the menu you see on the menu page.
To find the index of a particular menu, look for the register_nav_menus function.
In my functions.php, register_nav_menus look like this
register_nav_menus(array(
'primary'=>_('PRIMARY MENU'),
'footer'=>_('FOOTER MENU')));
So, the primary is an index of PRIMARY MENU and the footer is an index of FOOTER MENU.
Therefore, If I declare my_menu_name, I would set my_menu_name= ‘primary’.
Check selected menu locations if they exist.
Use get_nav_menu_locations in if conditional statement to check the locations.
if($menu_locations= get_nav_menu_locations())
get_nav_menu_locations returns an array of menu objects therefore check if the $menu_locations’s $my_menu_name object exists.
if($menu_locations= get_nav_menu_locations() && isset($menu_locations[$my_menu_name]))
If the location menus exist, this takes you to the next step.
Retrieve a specific menu by creating a menu object from the menu location
Use wp_get_nav_menu_object WordPress function to create a menu object.
A function receives the menu location object.
I have created a menu location variable as $menu_locations.
So, you need to get the one menu location hence use a $menu_locations array to access the PRIMARY MENU (any menu).
Therefore, to get the selected menu location use $menu_locations[$my_menu_name].
Then, pass $menu_locations[$my_menu_name] to wp_get_nav_menu_object function.
You need to declare the menu object variable that reference wp_get_nav_menu_object function.
$the_menu= wp_get_nav_menu_object( $menu_locations[$my_menu_name]).
$the_menu object helps to access the ID of each menu item like item title and link of the menu item.
Create the object to retrieve each menu item value using wp_get_nav_menu_items
Pass in term_id using $the_menu object.
Each menu list item uses ID for retrieving some values.
$items_in_menu = wp_get_nav_menu_items($the_menu ->term_id)
Declare a string variable which instantiates menu container.
A menu container here is navigation menu element <nav>
$list_of_items = ‘<nav>’
Add your custom CSS class attribute in the navigation tag if you have one.
For example, $list_of_items = ‘<nav class = “ your_custom_class”>’
Concatenate $list_of_items to ‘<ul>’,and add a custom class to ul
$list_of_items.= ‘<ul class= “your_custom_class_to_ul”>
The unordered list is the container of many list items of the menu.
You should iterate the whole container to get the value of every menu item.
Create foreach loop to access each item in a selected menu.
Use $items_in_menu object to get list item name and link of the menu.
Use $items_in_menu title constant to get the name of item <li> and URL constant to get the link of the menu for anchor tag href attribute.
foreach((array)$items_in_menu as $key => $menu_item_values)
Retrieve the names of each menu element.
$list_item_title = $menu_item_values->title
Retrieve the URL of each item available on the menu.
$menu_item_url = $menu_item_values->url
Concatenate $list_of_items with <li> and <a>as well as $list_item_title.
And also, add your custom class to both li and anchor tag.
But remember to write $menu_item_url in anchor href attribute for the URL of the specific menu item
$list_of_items.= ‘<li class=“your_custom_class_to_li”>’. ‘<a href= “’.$menu_item_url. ‘” class= “your_custom_class_to_a”>. $list_item_title. ‘</a></li>’
Close foreach loop
Then append $list_of_items with ul and nav closing tags.
$list_of_items.= ‘</ul></nav>’
Note: Append these elements outside foreach loop.
Output the $list_of_items using echo.
echo $list_of_items
This will display the HTML after a method implanted in the WordPress index page and other pages.
A complete codes of this function which adds custom class to ul and a is …..
function my_custom_menu_class(){
$my_menu_name= ‘your_menu_location_id_name’;
if($menu_locations= get_nav_menu_locations() && isset($menu_locations[$my_menu_name])){
$the_menu= wp_get_nav_menu_object( $menu_locations[$my_menu_name]);
$items_in_menu = wp_get_nav_menu_items($the_menu ->term_id);
$list_of_items = ‘<nav class = “your_custom_class”>’;
$list_of_items.= ‘<ul class= “your_custom_class_to_ul”>;
foreach((array)$items_in_menu as $key => $menu_item_values)
{
$list_item_title = $menu_item_values->title;
$menu_item_url = $menu_item_values->url;
$list_of_items.= ‘<li class=“your_custom_class_to_li”>’. ‘<a href= “’.$menu_item_url. ‘” class= “your_custom_class_to_a”>. $list_item_title. ‘</a></li>’;
}
$list_of_items.= ‘</ul></nav>’;
}else{
echo ‘no such menu location exist, please create a new one’;
}
echo $list_of_items;
}
Implement my_custom_menu_class() in index.php
You can also implement insingle.php, page.php, and other files of WordPress.
Call the function where you want the menu to display in the respective file.
The implementation of the method is done differently.
Open index.php
Then, go to the section where you will implement a menu.
So, write the following code.
<?php
if (function_exists(my_custom_menu_class()))
my_custom_menu_class();
?>
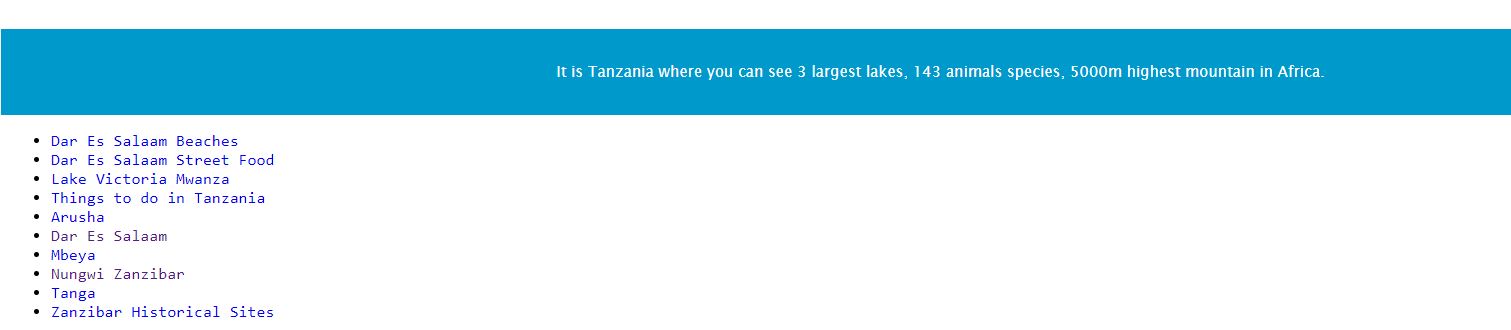
Then Open the browser.
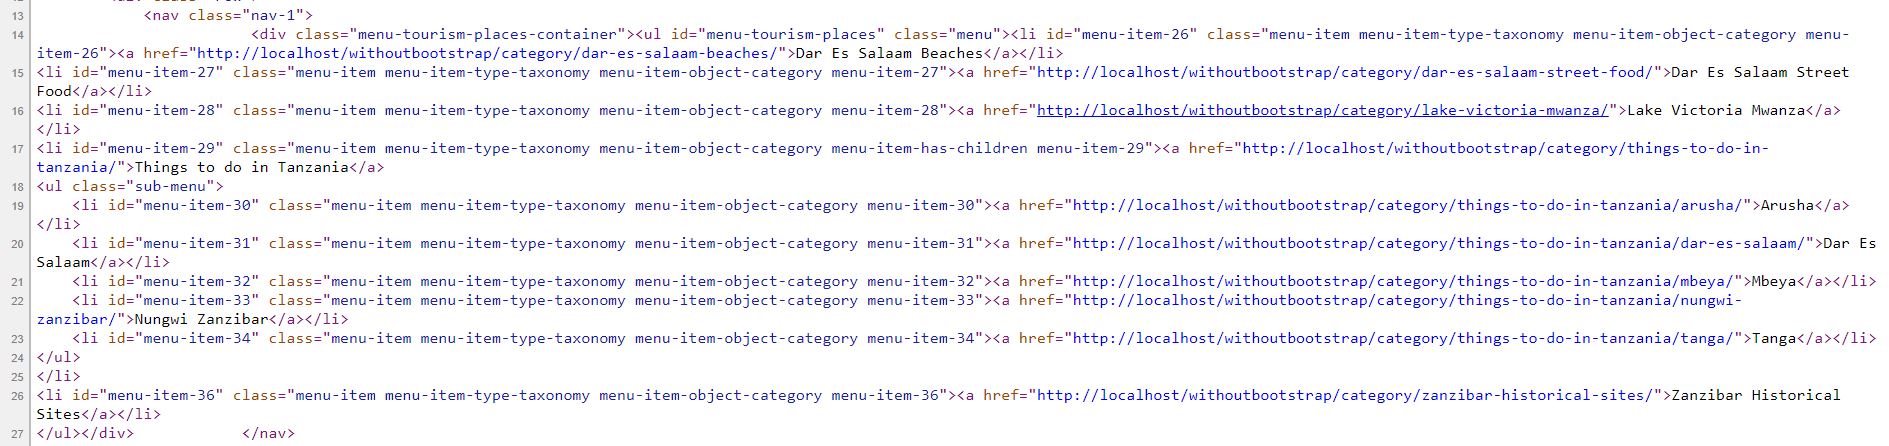
You will see your menu with a custom class.
The source of the page on navigation will display HTML codes for nav with a custom class.
Here is what I mean.

My custom class for li is “darasa_langu”.
By the way, the blog uses the localhost at the time of writing this post.
Why I haven’t used wp_nav_menu directly to add class to ul a
I wanted a very flexible menu.
A menu that gives me the freedom to add classes on any HTML elements inside the navigation.
wp_nav_menu would need to add the classes using the array elements.
This would give me a tough time writing a very customized menu.
All in all this technique works on all WordPress versions.
And it is easy to implement.
I read another solution to solve this issue but I didn’t like them.
wp_nav_menu arguments are confusing.
Check wp_nav_menu, investigate it carefully.
You will know how hard to use this function for customizing menu classes.
Where to find other solutions to add class to li a
Stackoverflow may give you other solutions.
But there are problems to rely on StackOverflow.
Some of StackOverflow answers are too old.
Some answers are more six years old.
So, the codes may not output the expected results.
This is because WordPress updates the system every time.
Hence, You must test every solution posted on there.
But, most of the answers can work if you make some changes.
Therefore, Understanding how WordPress functions work is a vital thing.
And official wordpress.org allows users to comment.
Some comments have the answers.
But the solution I posted here works fine, try it and enjoy it.
Conclusion
To add custom classes to ul, li and a may not need to use wp_nav_menu. You can add it by a combination of WordPress functions.
Using get_nav_menu_locations, wp_get_nav_menu_object and wp_get_nav_menu_items functions provide flexibility to add class to any element inside the navigation container.